Multiple colour gradients can be used in a very easy way using Inkscape.
Let us learn to use the multiple colour gradients in Inkscape.
Requirements :
Software – Inkscape version 0.92 or higher.
Time – 5 – 10 minutes.
Now you can follow the steps given below :
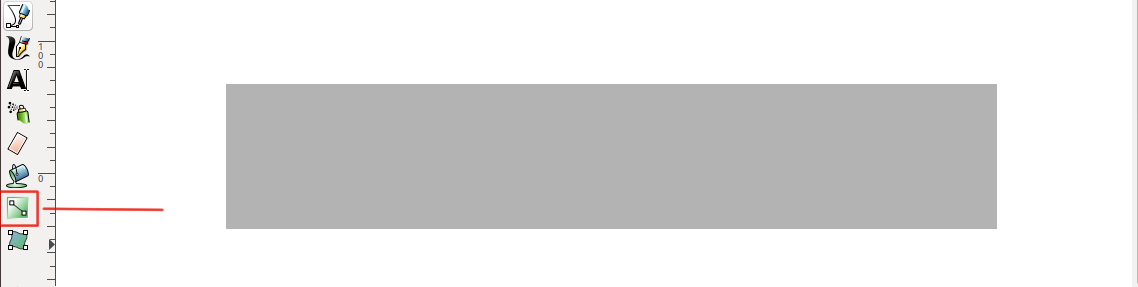
Step 1
- Draw an object or create your own drawing.
- Then select the gradient tool.
- You can now hit ‘G’ to activate it.
Step 2
- Double click on the gradient line.
- After that insert nodes.
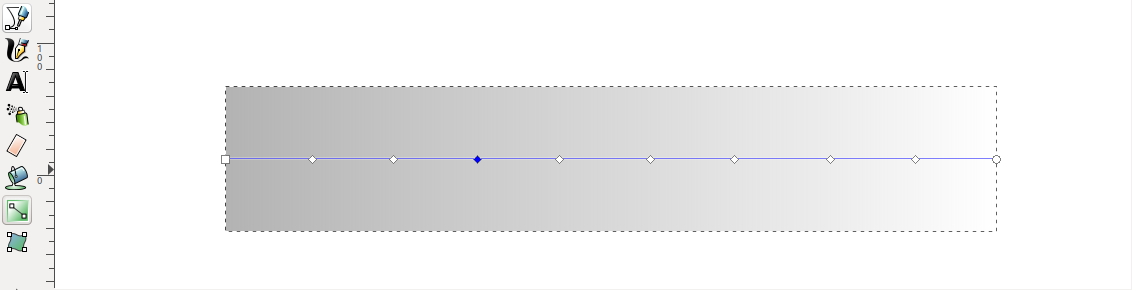
You can individually select and space out the nodes.
Note : These nodes can be selected separately and gradients applied to them.
It wont change the gradient for the entire object, but creates a new gradient within each node area.
Step 3
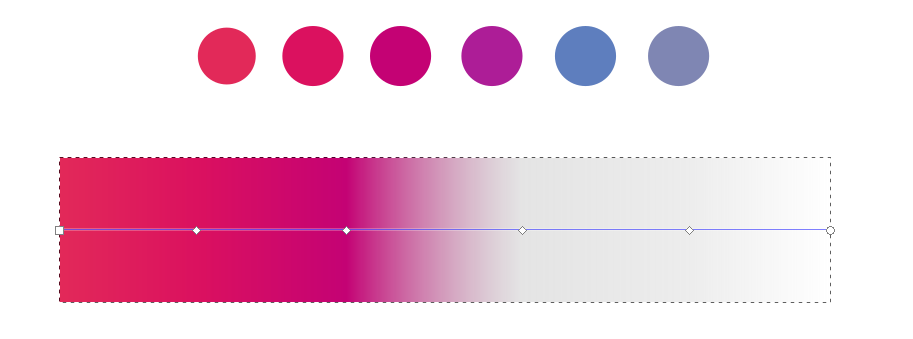
- Prepare colour swatches(also called palette) of colours of your choice.
Note : This will make selecting colours with easy with the colour picker tool.
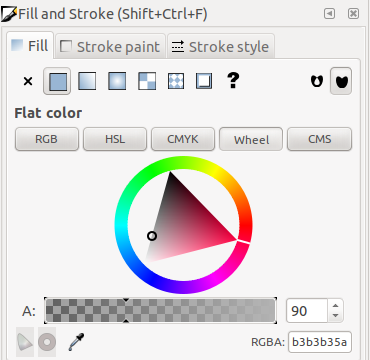
Step 4
- Select the first the node.
- Using the colour picker tool from the Fill container, select the first colour of the swatch.
- You will notice that only the portion represented by that particular gradient node will be coloured.

- In the same manner select the remaining nodes and pick out the remaining colours of the swatches.

You can apply this method to any object or shape in Inkscape. Here is a good usage of the gradient.

Check out our recent tutorial on Smooth strokes using Krita.
Do you want to know what is new in our Ebook Development? Read more here 8 New Interactive Features of Ebook.