This is a tutorial for creating a bootable USB stick on Ubuntu installed systems. The bootable USB stick a will serve for the following purposes :
- If you do not have a CD/DVD drive installed on your system.
- Easy to install and portable .
Let’s get started !!
Requirements :
- Ubuntu installed on the computer.
- USB pendrive( 4Gb is sufficient).
- Downloaded (.iso) file of the operating system.
Using the software :
- Insert the pendrive in your computer and then open the Dash.
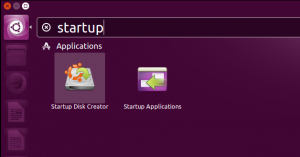
- Type in “Startup Disk Creator” and hit enter.

- In “‘Source Disk Image” , click on “Other“.
- Browse the directory to the downloaded (.iso) and select it.
- Then below in “Disk to use“, select your USB pendrive.(Note : All the existing data on the selected disk will be erased).
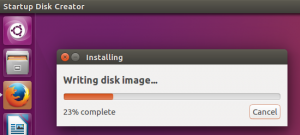
- Click on “Make Startup Disk” and wait till the write process is complete.

Great !! Now you are ready to test the USB stick.
- Plugin the bootable USB stick onto the computer that you want to test.
- Now power on the computer.
- Wait for the first screen to pop up(Note : It lasts for only few seconds, so be quick !).
- Hit “F10” or “F12” and Choose the boot device as your USB .
- Thats it ! You can now use it as Live OS or to install ubuntu.
